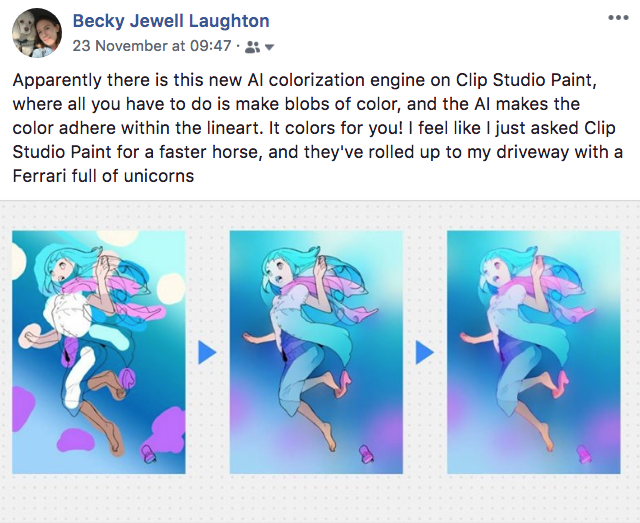
I leaned back from my computer and blinked several times while reading the update preview to Clip Studio Paint. The screen was telling me that the new software would ingest blobs of color and distribute the color to fit lineart as cleanly as any steady-handed colorist. I posted excitedly about it on Facebook:
Even in the demonstration art of the girl with the pink scarf, the coloring didn’t look perfect, but isn’t that what makes it look … human? I thought it looked marvelous and couldn’t wait to try this new feature.
From start to finish here is how I tested the Colorize feature and how I worked it into my typical pencil-to-ink-to-color process for making comics.
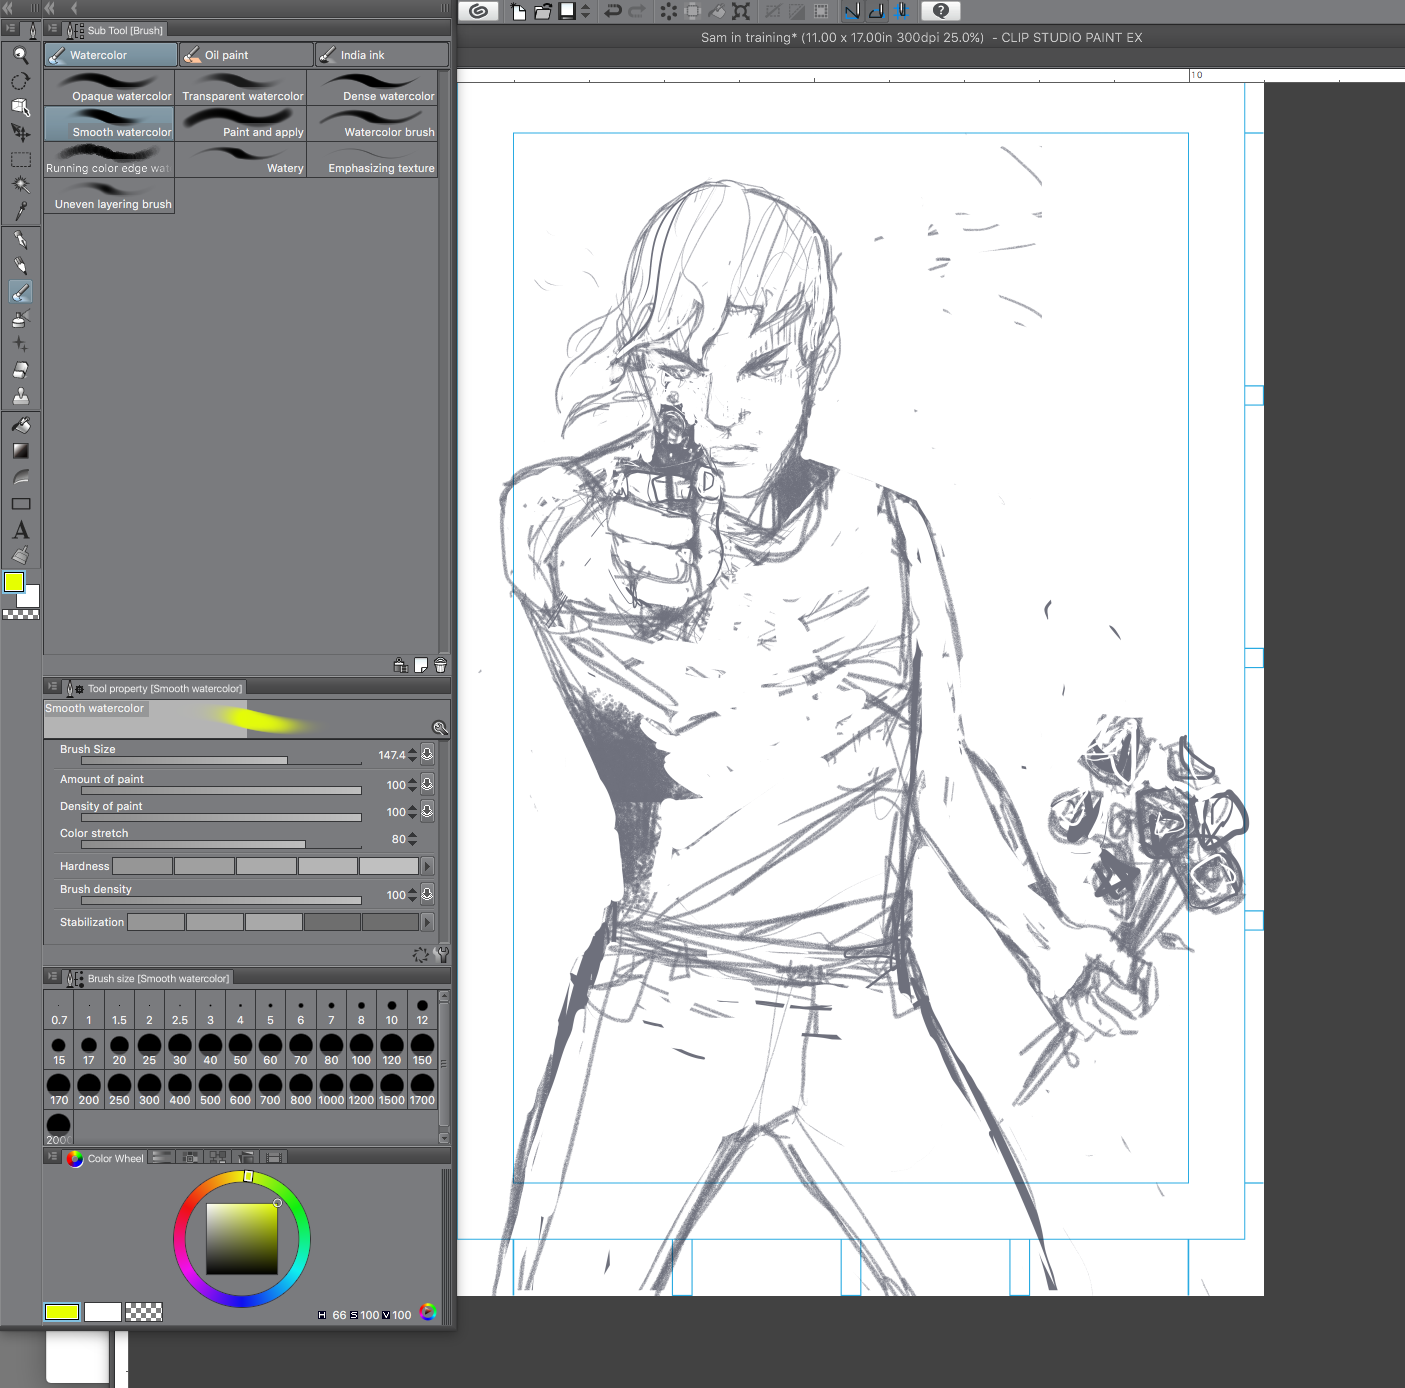
I started with this pencil art from Clip Studio Paint on the iPad Pro - it was fun to make this sketch of Sam from Tilted Sun. In the pencilling phase I feel the most free and am probably at my most genuine state as an artist.
Note - I like to put question marks around things that I haven’t really fixed yet in my art. This happens often around feet and guns. It’s my way of visually admitting that I have no idea what is going on in a certain part of the drawing. It saves time later when I’m working on 35 drawings and can’t remember how I felt about drawing 17 out of 35.
Throughout pencilling I kind of backed Sam up a bit so we could see more of him.
At some point in the process he also got a haircut. Since Tilted Sun moves through time quite a bit, Sam’s hair changes often, and sometimes I draw the character into a timeline and then change my mind.
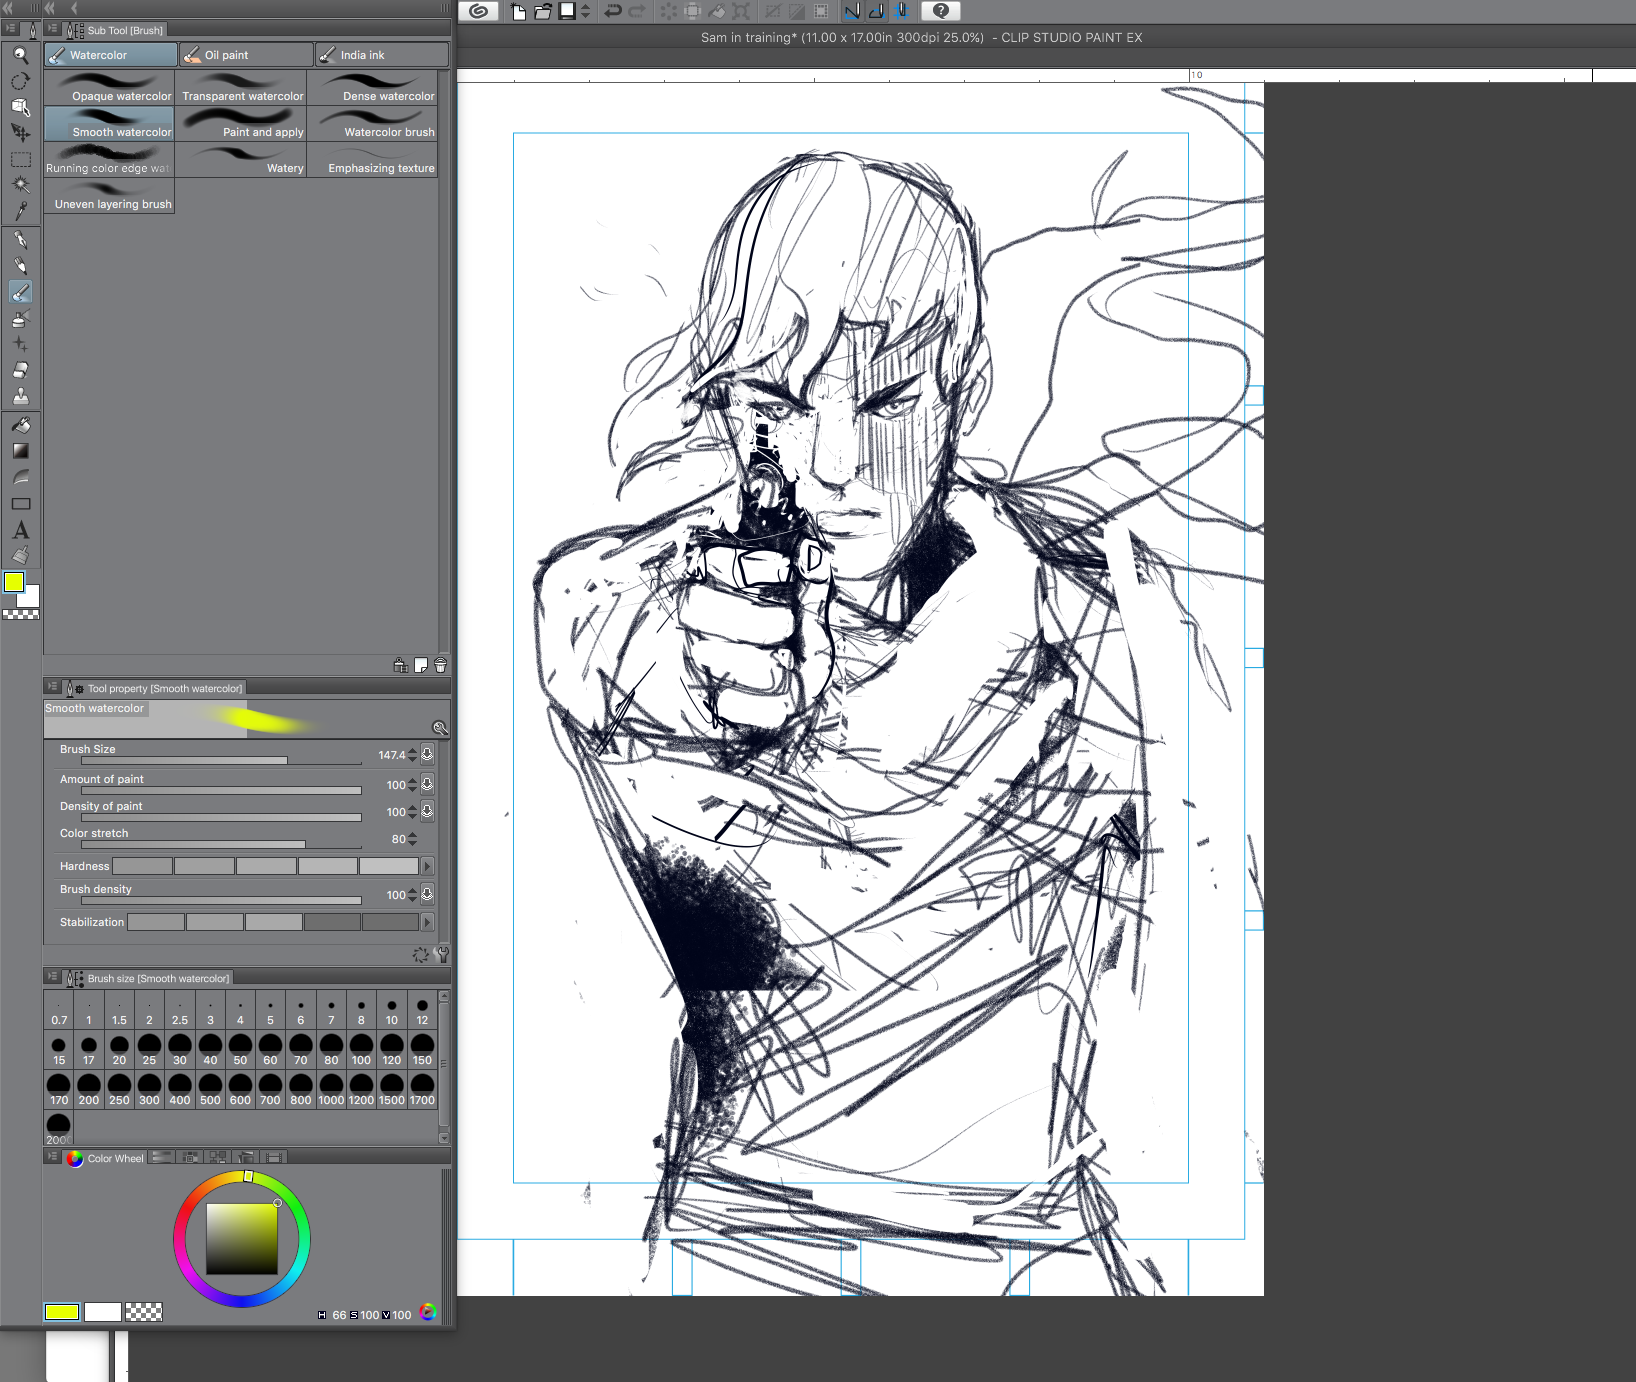
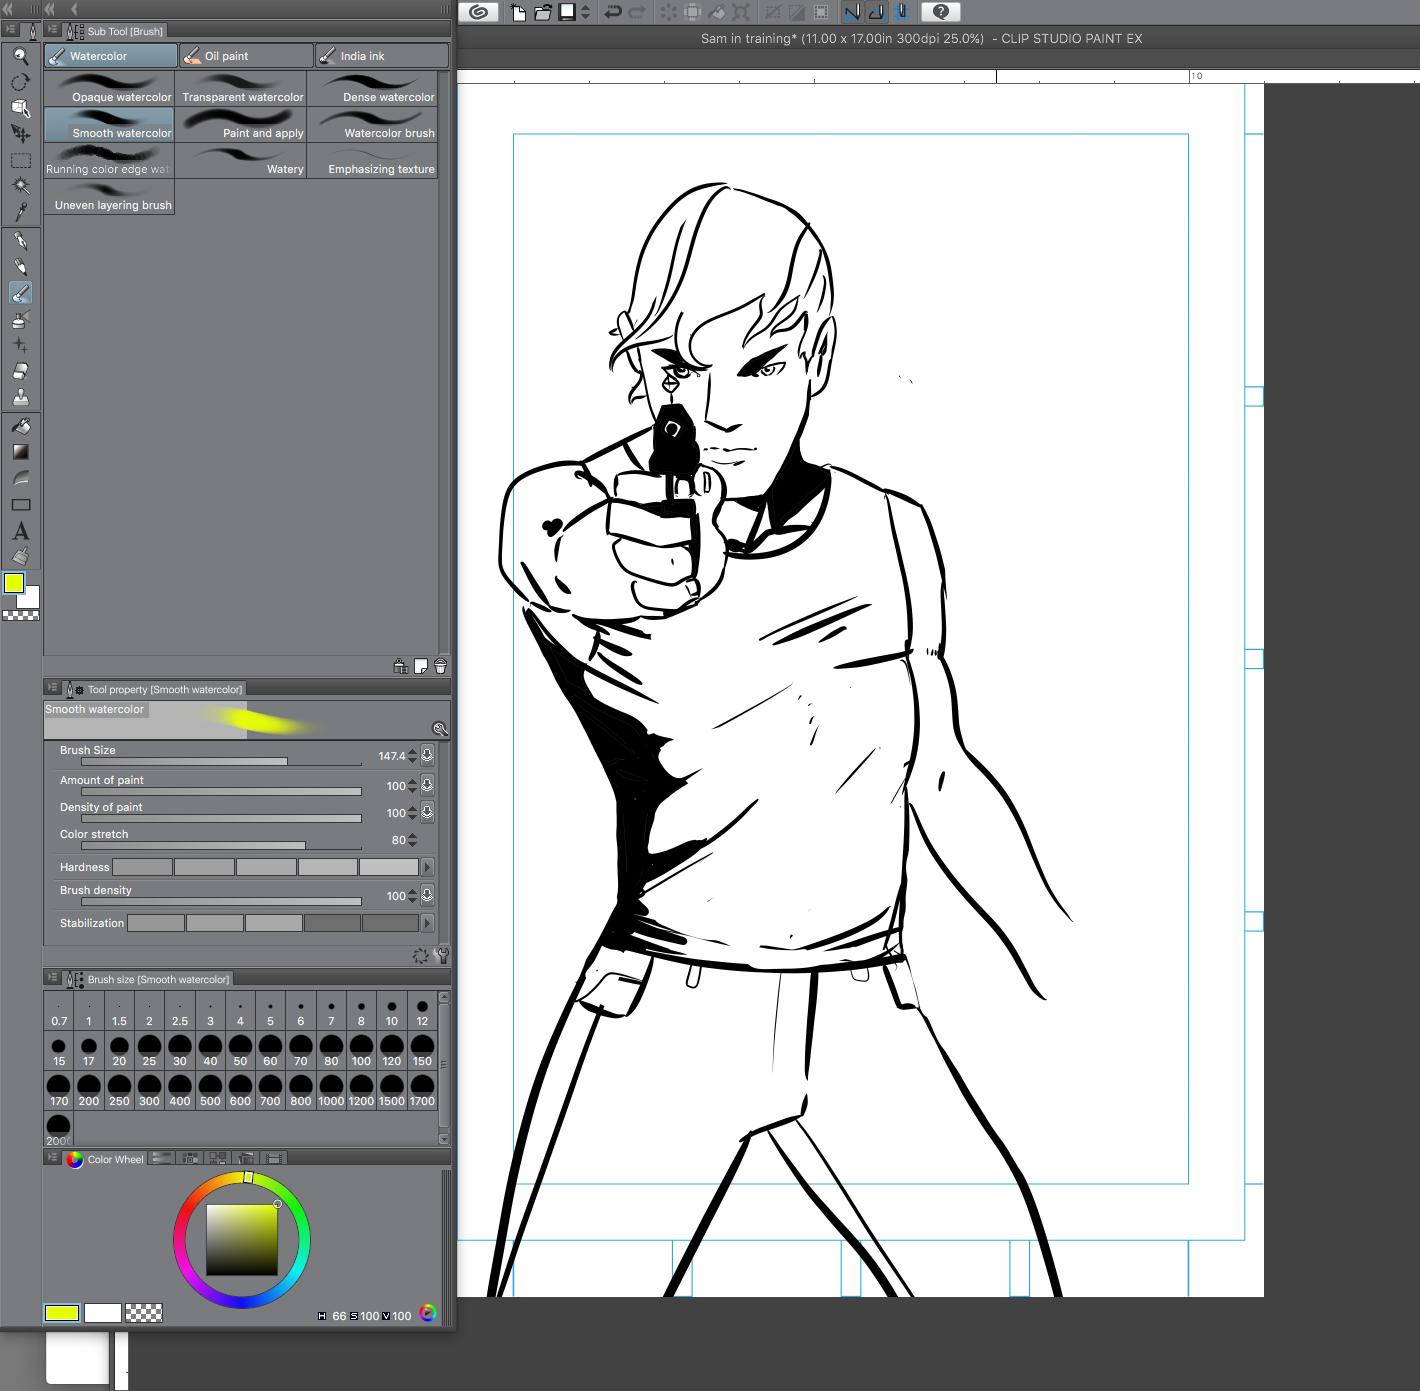
The inks came out well and I was ready to drop them into Clip Studio Paint’s new Colorize feature.
Without giving Clip Studio Paint anything at all, not a smidge of color to go off of, here is how it decided to color the ink layer
I thought this was pretty good. Here the engine is sort of saying “All right boss, I think this is a body of some kind, I’ll make it tan with some varied flesh tones.” Technically it didn’t want Sam to be wearing a shirt, or it believed he was not wearing a shirt and colored him as such, which is pretty funny, or amazing, or both.
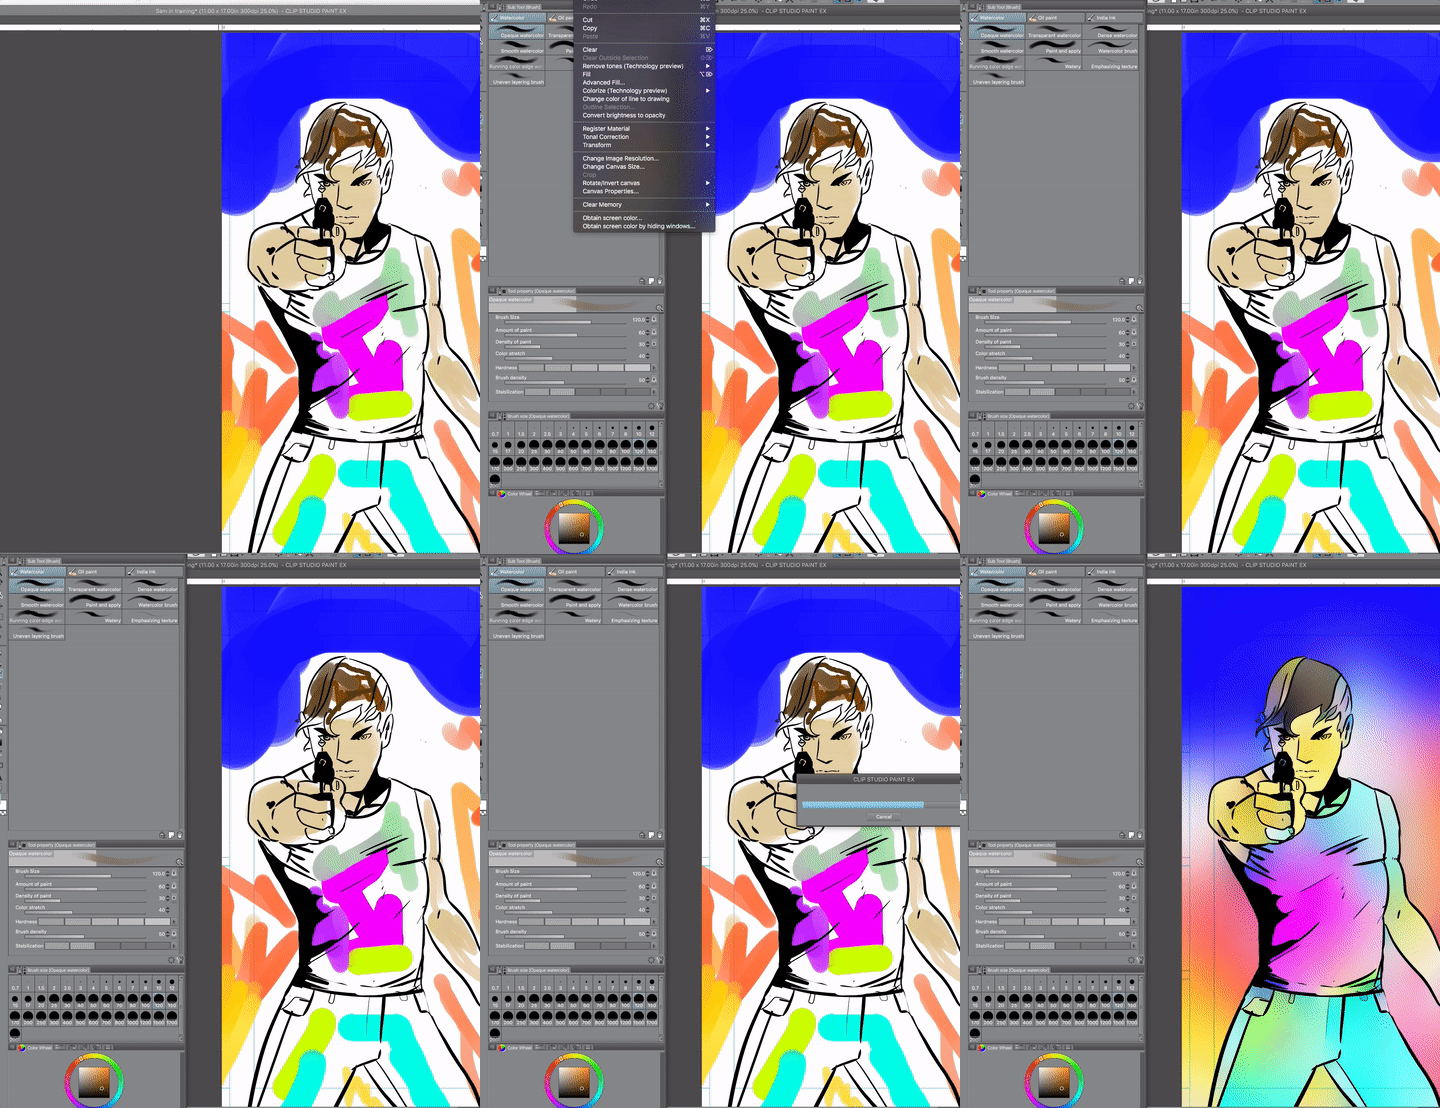
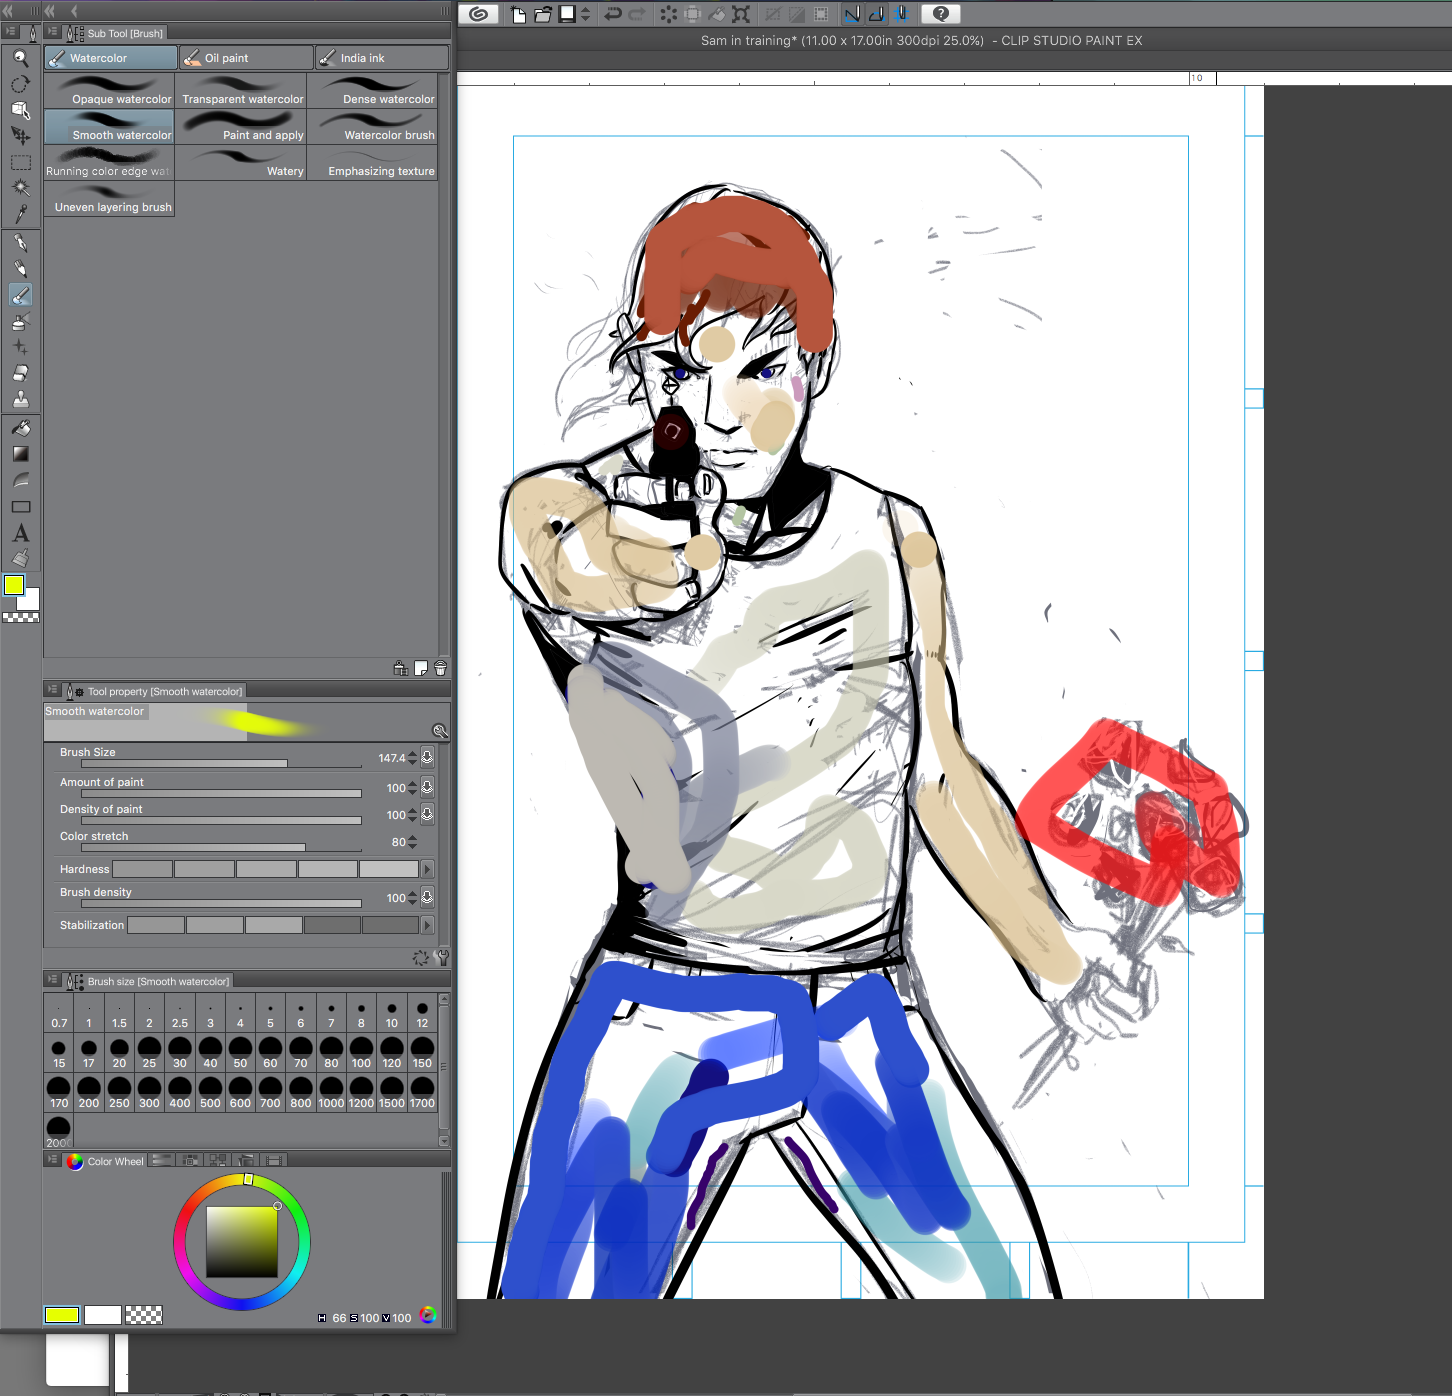
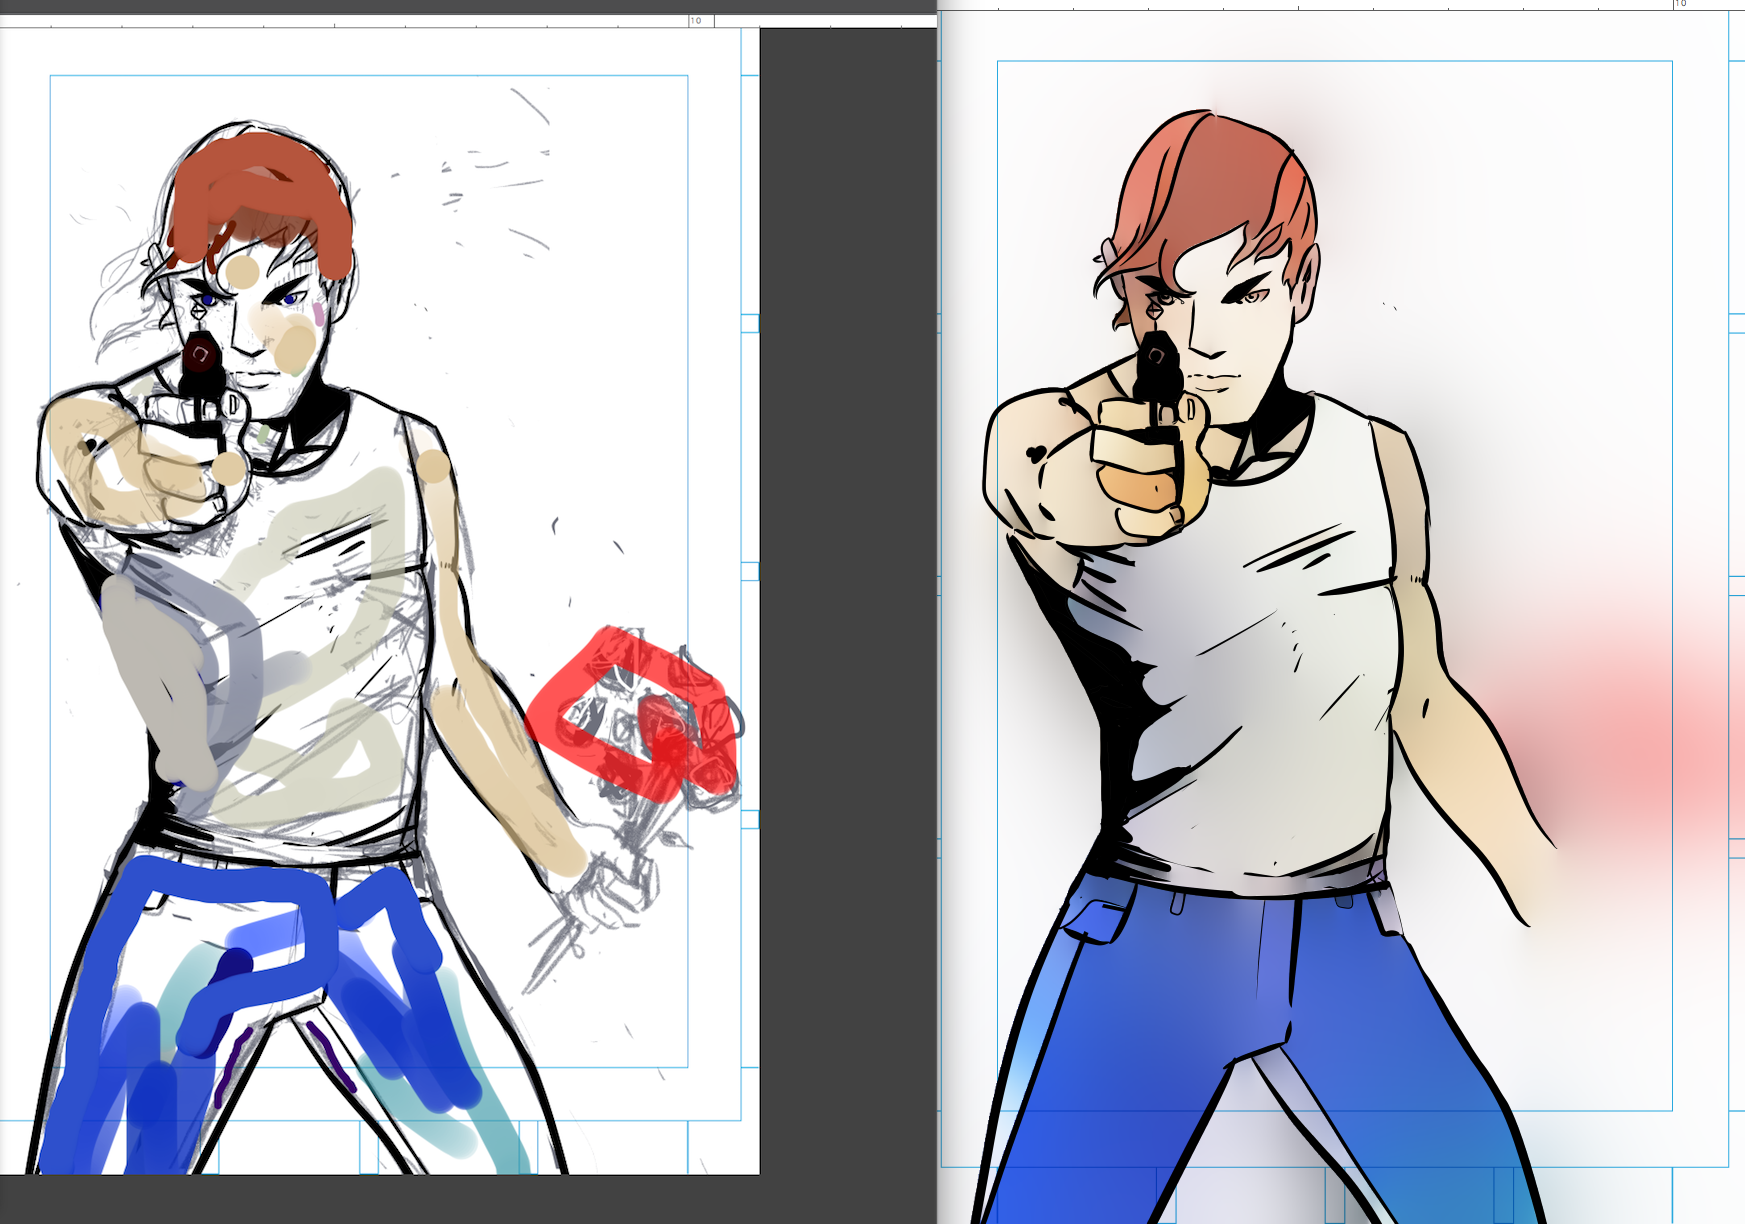
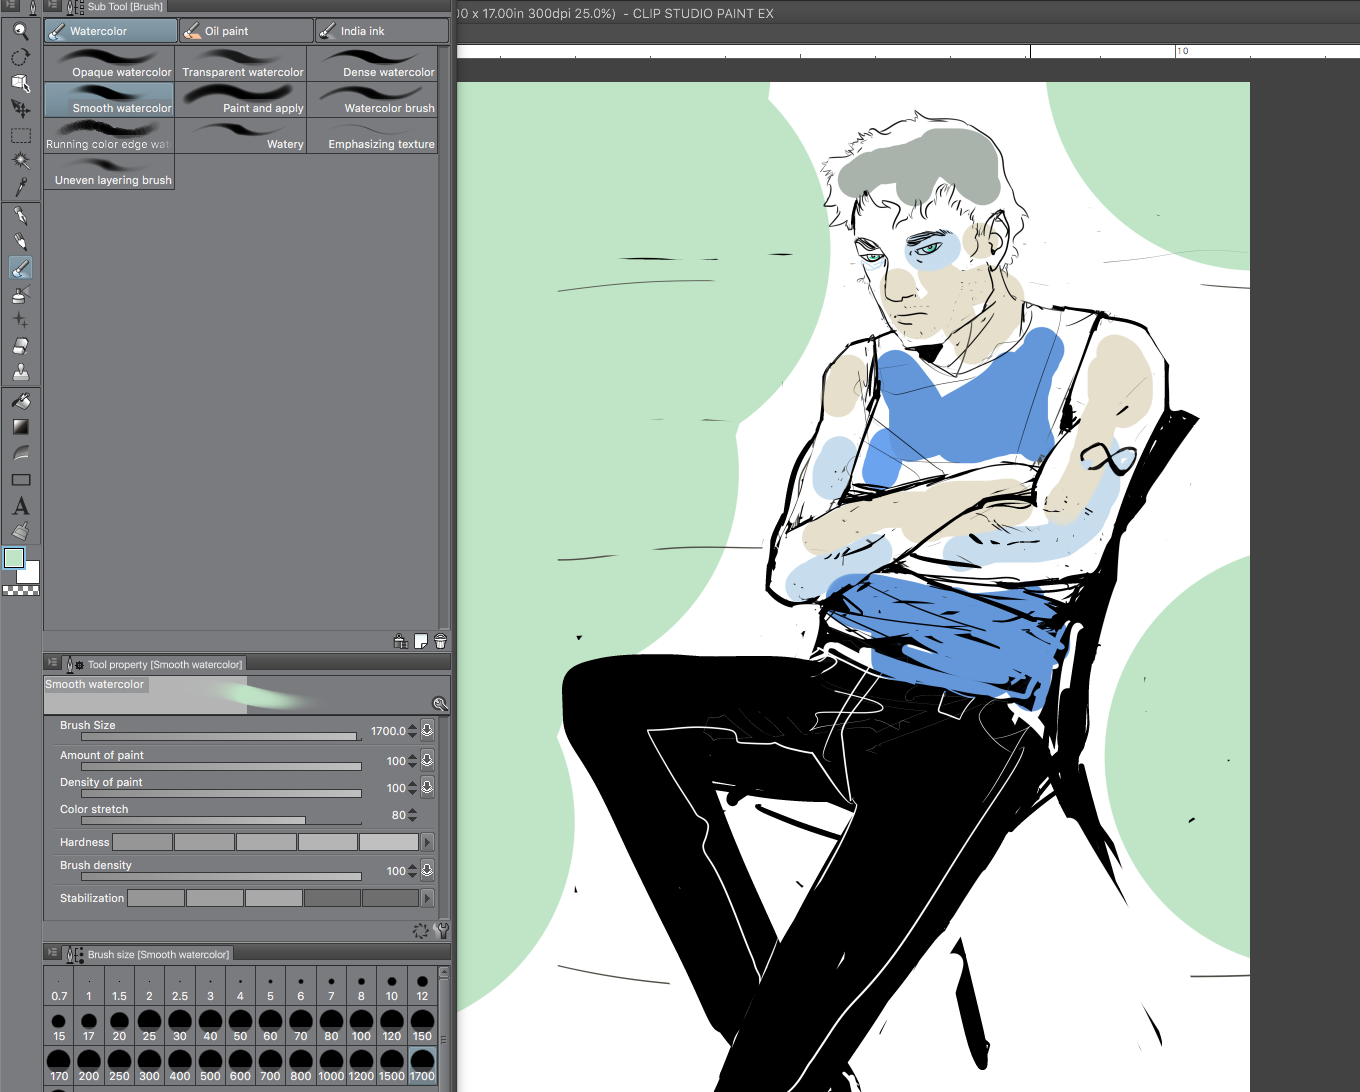
In the next try, I gave Clip Studio Paint a few more hints. I added blobs of red, skintone, bluejeans, all as if I was back in 8th grade drawing in MS Paint.
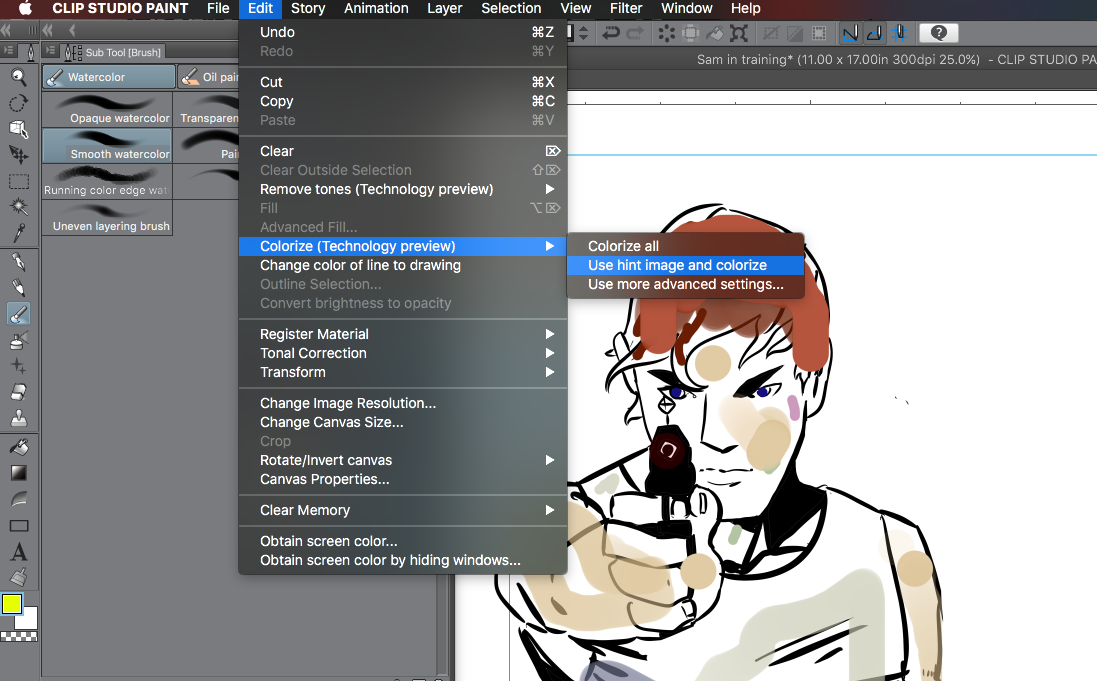
To run the Colorize feature, here is what to do:
Set the ink/lineart layer as your reference layer by choosing Layer: Layer Settings: Set Reference layer.
Make a new layer. Put sloppy Microsoft paint color blobs in this layer.
With the blob layer highlighted, click on Edit.
Choose Colorize and ‘Use Hint Image and Colorize’
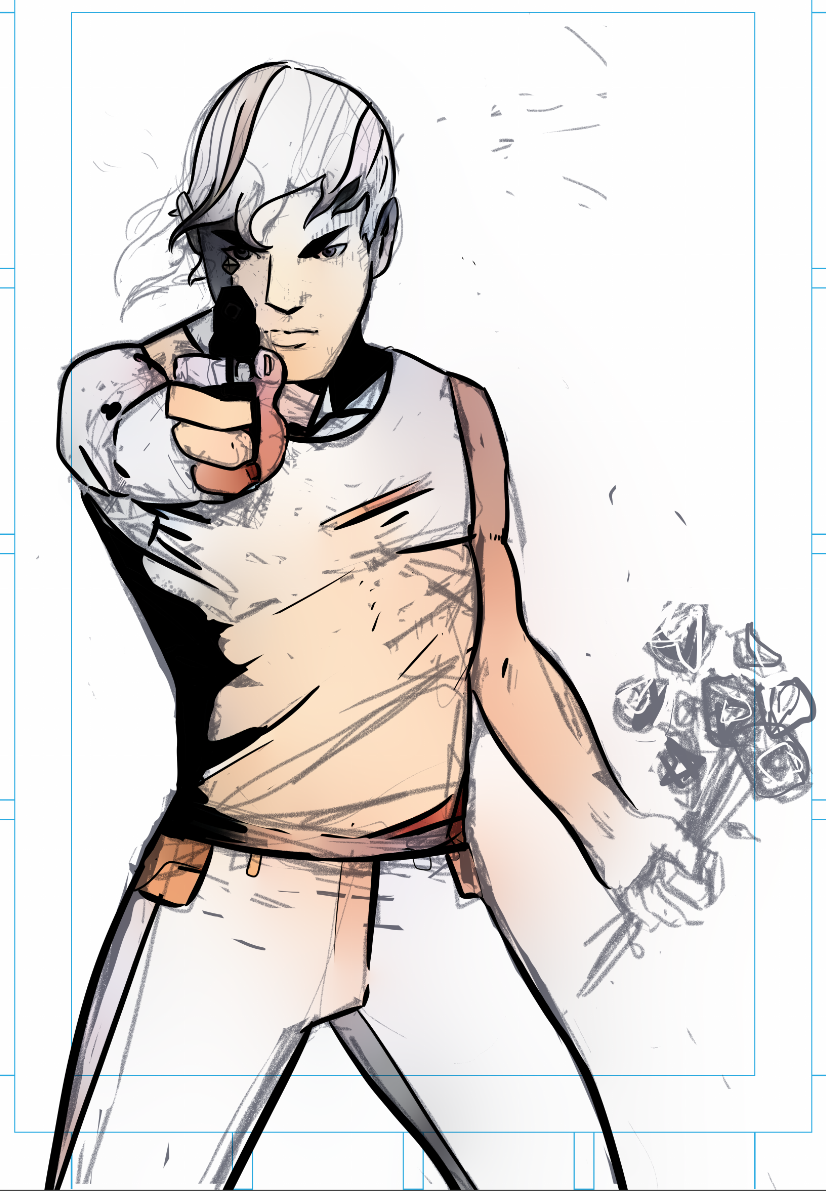
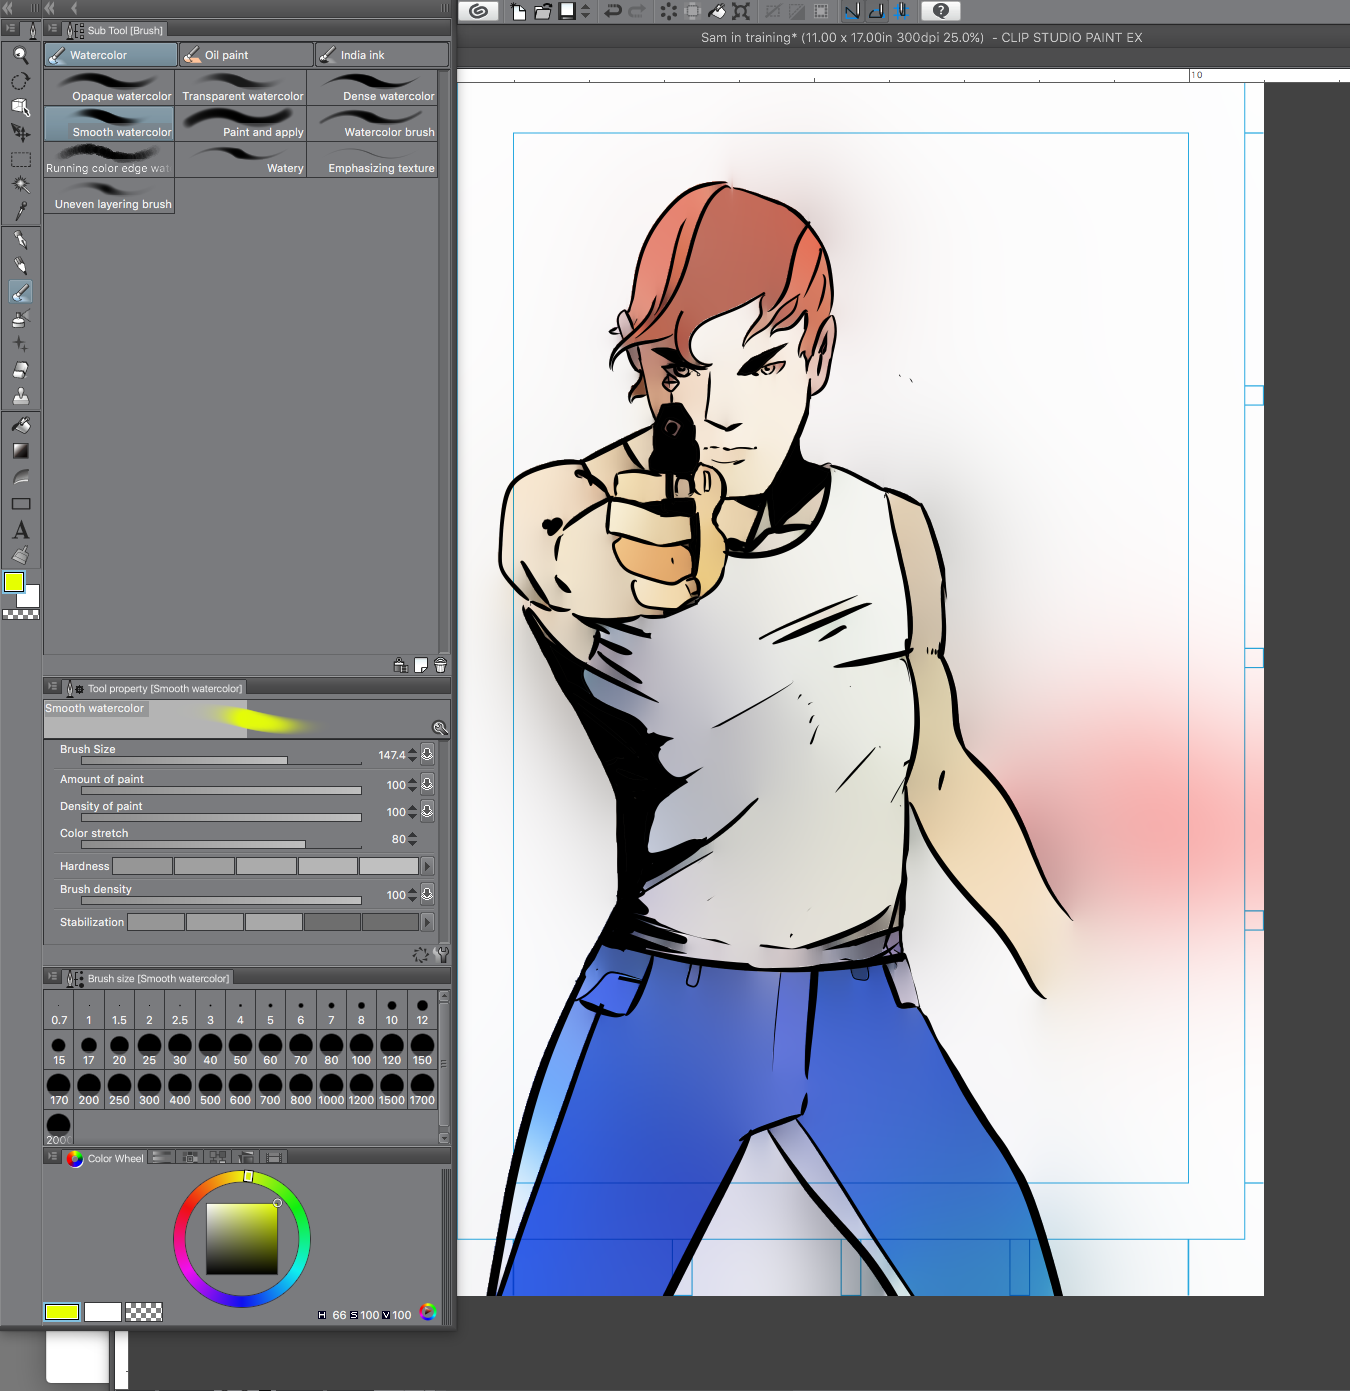
Clip Studio Paint takes the blobs and runs with them like a champ. After a 10 seconds of processing and taking away the pencils, here is how Sam looked:
I could see what the AI was trying to do for the most part. Sam’s ring finger on the gun is super dark because that is where the most color was in the source layer. Probably the most intelligent, mysterious thing is that Colorize somehow knew that the area under Sam’s hair on his right side should be shaded. There’s nothing in the source layer that tells the software to do this. The software just sort of … figured it out. It put a lot of light on the left side of his body and darkened the rest.
There are still parts of the final AI colored version that bug me a bit, like his pants are too flat, dear lord, but for the most part, Sam is looking pretty good! I still have to go draw the roses in his left hand. AI can’t do everything, haha.
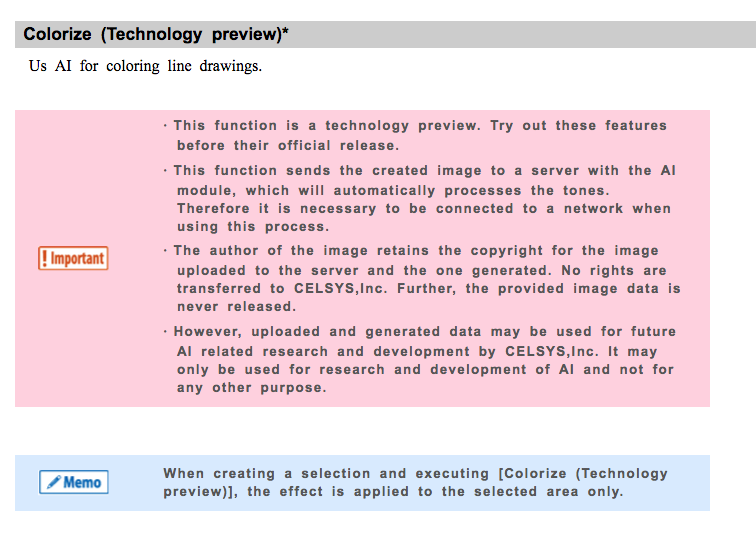
Reading the official Clip Studio Paint documentation here, this is just a preview of an even more powerful engine to come, but… it’s pretty baller. The docs also hint that and perhaps all drawings submitted to this feature are helping a big machine learn.
I went back and found some old lineart and decided to see if the AI would color ‘better’ than how I colored the art. Could I John Henry this thing?
Here is a character colored by me, a human:
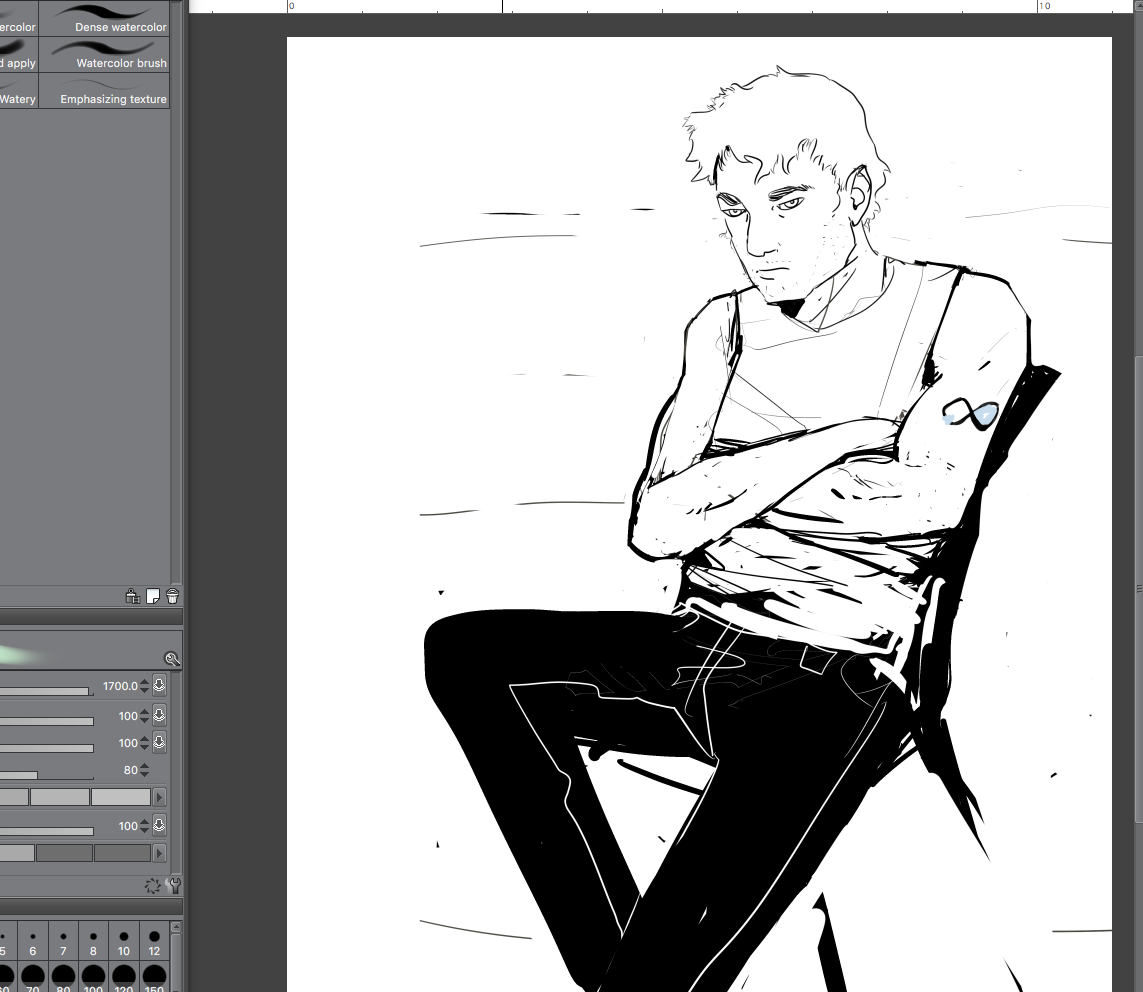
To test Colorize on this old art, I removed all color layers and made the ink layer into the source layer:
Here are the hints I gave Clip Studio Paint, matching the original coloring but lazily
Here is what Colorize returned:
Someone get this man a gatorade he is much too blue
I think he looks ‘good’ if a bit too pale and ghostlike. He certain looks real and I believe in him. The Colorize feature is great at ethereal, airy renders, and even after adjusting the blur settings, I couldn’t get this guy to stop looking like a ghost. I don’t think the Colorize version looks ‘better’ than the hand-colored version, but it looks ‘different’ and interesting in it’s own way. The similarity of the colors in the source layer are all kind of pale, and this probably gave Clip Studio less versatility to make the drawing look good.
I came in with a bias on this - having previously colored the piece, I was bound to be less delighted. But, it still is pretty cool, and the AI color would have saved a ton of time. Colorize can almost be thought of as a feature that runs multiple fill processes with enough sophistication to save hours of setting gradients and quasi-airbrushing characters. John Henrying the Colorize feature isn’t the point, the point is to get it to save time and go from there.
Also, for some reason, Clip Studio rainbowified the inseam of the dude’s pants. I don’t know why or how it did this (where did it get that bright purple color? Lol) but it’s pretty great.
Until looking at this feature, I never realized how strenuous coloring is on the computer. Some artists love drawing, some love coloring, some love both equally, but I love drawing more than anything. Hopefully this blog helps you use Colorize in a way that is useful and cool. I’ll keep posting more about Clip Studio Paint as I run into more useful features. :)
Related Blogs:
