
Like anyone who loves colorful and shiny things, I’ve always loved stained glass. I find that stained glass is fun to look at no matter what shape or size it may be. Whether it’s an animal-shaped window hanging, or the Sainte-Chapelle in Paris, glass has always been so beautiful to me.
As an artist, however, I probably won’t be able to make my own stained glass pieces any time soon, because there’s so much that goes into it as far as metal, serious scissors, and glass kilns. It looks like I’d need a garage or a whole workshop to really give stained glass a solid go, so, right now, stained glass is not for me.
Yet, not being one to give up on my pursuit of shiny colorful things, I still wanted to find a way to work with glass.
After researching glass mediums for a bit, I found that I could make glass mosaics.
To get started with mosaic making, I was excited to order some Mexican smalti off of Etsy. A search for this revealed a ton of colorful results of scrap glass.

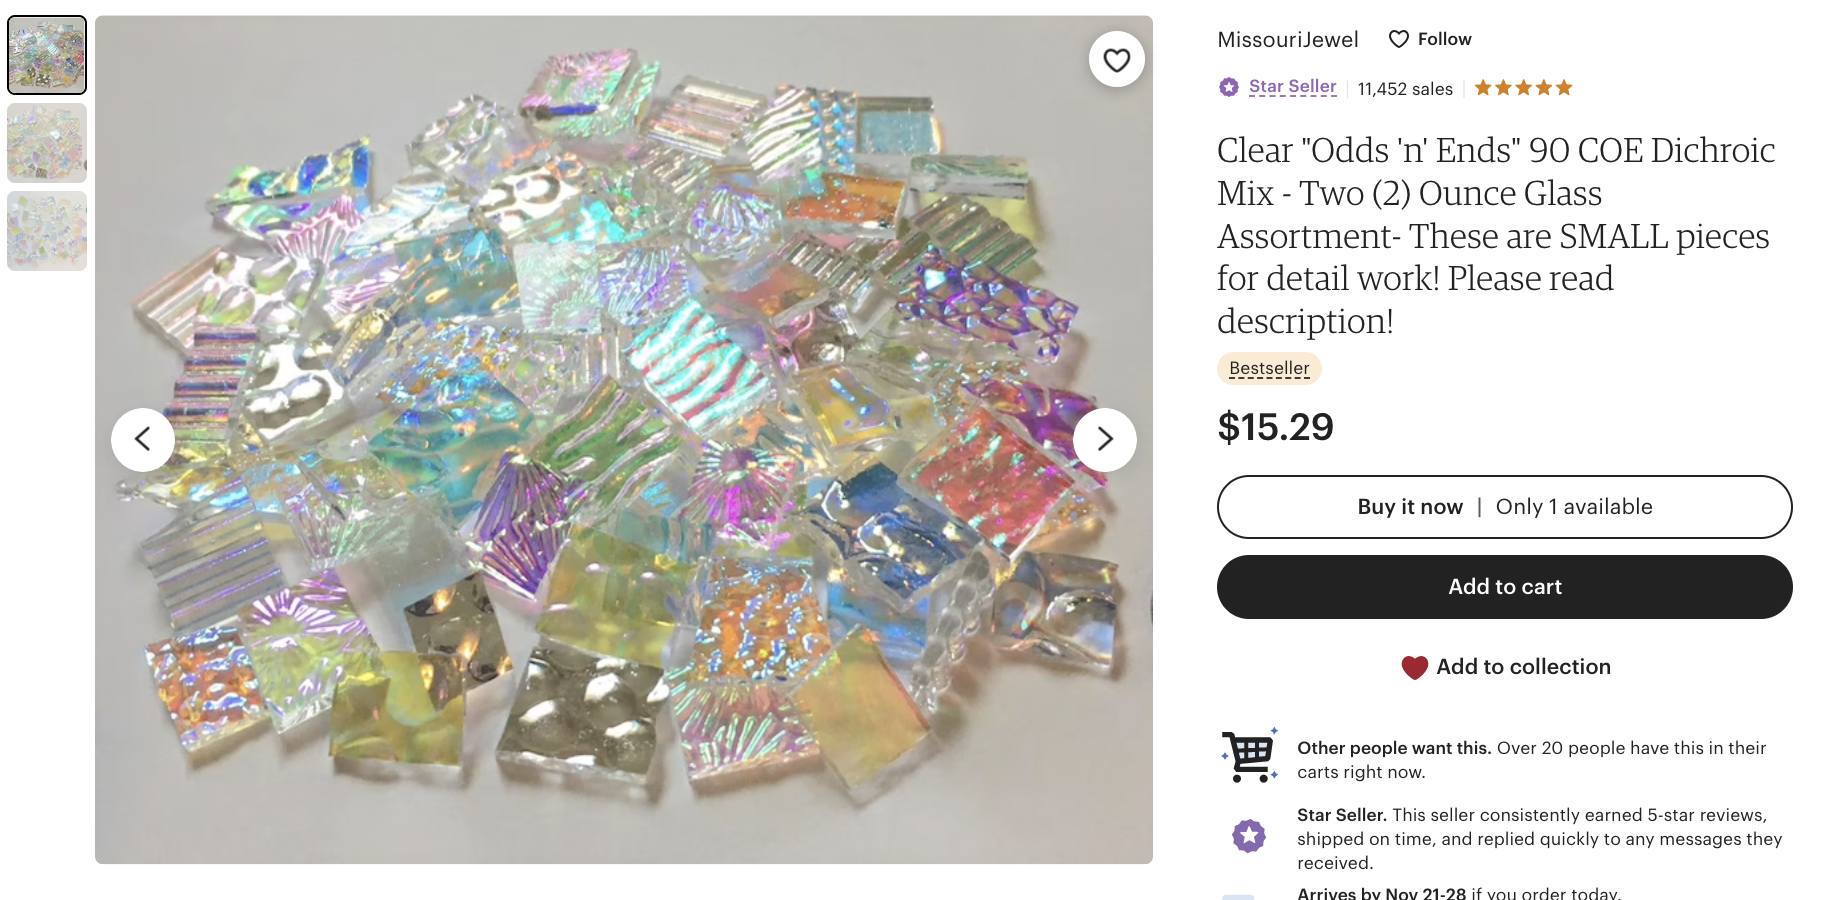
I also ordered some of this iridescent glass from this seller.
Finding so many exciting listings for scrap glass was a happy surprise to me - but maybe it won’t surprise anyone else reading this blog!
Etsy turns out to be an amazing place to find glass mosaic supplies, at least where we are in 2022. Much in the way that I have been able to find home-made watercolors or small-batch watercolors on Etsy, I was also able to find a ton of listings featuring scrap glass, smalti chips, and also stones that could be utilized in mosaics.
While I’m sticking to glass-only and won’t be using stone for the time being in my mosaics, it’s promising to see that if I ever did want to make stone mosaics, many raw stones are to be found on Etsy.

In total, I ordered the smalti, some dichroic glass scraps and some iridescent glass scraps. Upon ordering, I wasn’t sure about exactly what I wanted to make, but I knew I wanted to order these supplies so that I would have the chance to make something. I felt as if some kind of idea was materializing in my head, but I couldn’t make it out quite yet.
I find that sometimes art is like this - sometimes, the medium comes first. Sometimes, the idea comes first. Sometimes, they both arrive together. With my art practice, I find that I often need to have the medium available first, and to start working with the medium, and THEN the ideas come out.
I am not sure if other artists are this way, or if there is a majority of us who have ideas first and then purchase mediums after getting ideas. Or, the other way around. Who knows?
It’s nice to have more supplies rather than less, in my case, but I bet there is a critical mass level of supplies where if I had too many supplies, I would get overwhelmed and not do any art at all!
Also, what may have happened here was that I’ve never worked with glass or done a mosaic before (outside of maybe a craft mosiac in elementary school). So, not really knowing what to do or having a plan, I approached it a bit randomly and indulged a couple impulse purchases based on what made me say “oooh, pretty!” on Etsy.
To cut the glass for my mosaics, I grabbed some glass cutters online on Amazon. I wasn’t sure if these would work out either - the cutters with circular edges turned out to work for cutting the smalti.
At first, cutting the glass or smalti was a bit difficult for me - I was not sure about how hard to squeeze the cutters, or if the glass would fly away or something. After a couple tries and after getting a container to catch the cut pieces, I built confidence in how much I could squeeze the cutter handles and still successfully cut the glass in the way that I wanted.
I think that the practice of cutting the small mosaic pieces really surprised me. Since the cut glass pieces are for mosaic work, and not something that is meant to be exact, it ended up being one of those processes where I could feel myself letting go of expectations of perfection. The glass pieces would cut mostly straight, and sometimes a tad wobbly, but nothing drastically different than what I expected.
I ended up creating the mosaic below. To create an area to place the glass pieces, I made a strip of black heavy gel medium on this bright pink canvas and taped it off. After that, I slowly added my glass pieces to the black gel.

This ended up being very fun! It was a game of carefulness to place the smalti and also the dicroic glass. I was going for a bit of a domino look with the smalti, and with the dicroic glass, I approached it from a more traditional-mosaic angle.

After placing the glass pieces, I removed the tape and I ended up with a pretty strip of color on black. I am really happy with how this turned out!

You might notice there is a little swoop of black gel at the bottom right of the piece above. Fortunately I ended up clipping it from the piece once it was dried, so that it didn’t end up as a distraction.

Finally, I paired this mosaic with another mosaic/texture piece I did:

I liked how these turned out! For my next piece, I think what I will do is more flat mosaic pieces using dichroic glass. I liked how the black gel ended up looking on the pink canvas, and the black gel also helped the dichroic and iridescent glass stand out quite a bit. I was worried about some of the colors of the glass getting lost in the black, but that didn’t end up happening, so it worked out well.
I might try white gel in the future too but I’m not sure how to make it look as good as the black gel.
Thanks for reading my blog about my first glass mosaic! I will keep everyone posted on my next pieces.
